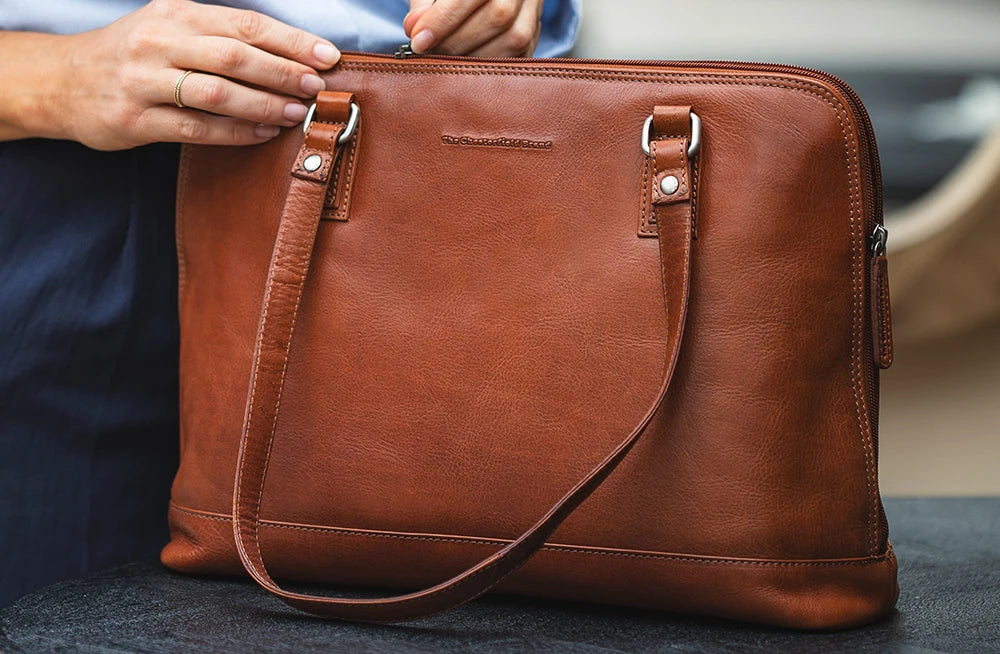
Dyeing or re-dying leather doesn't have to be difficult if you have the right materials. Re-dying a leather sofa, a car upholstery with worn leather, a pair of battered shoes, or a handbag gives new life to products that might otherwise have ended up in the landfill or in the back of your closet. And why settle for just touching up the color? You can just as easily change the color of the leather completely!
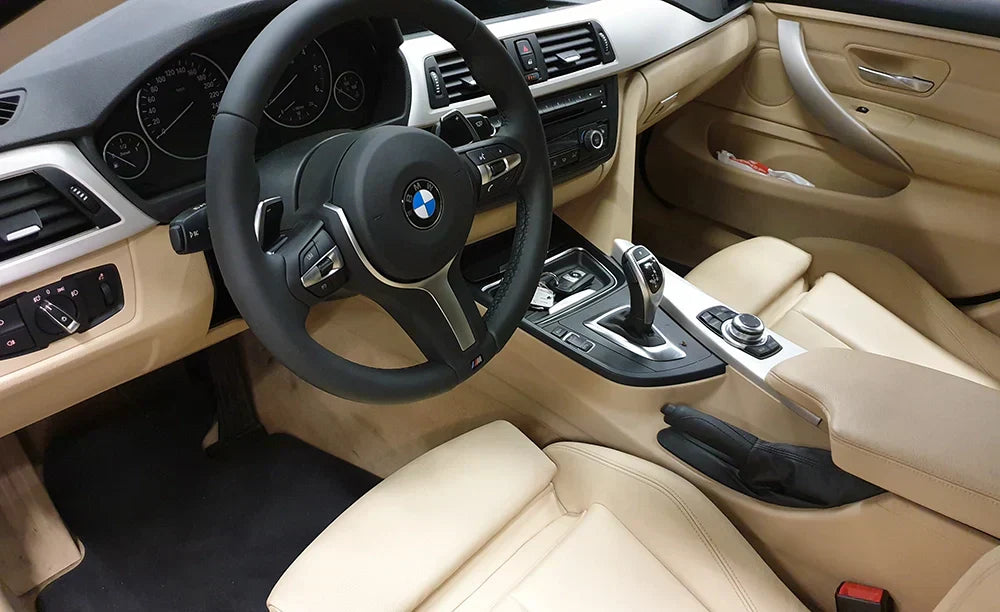
Here we describe how to dye top-dyed/pigmented leather. Top-dyed leather means that the color and finish are on top of the leather's surface, and this form of dyed leather is common on furniture and most leather upholstery in cars.
Step 1 – Cleaning and preparation:
The most important thing is to properly clean the leather before starting the dyeing process. The leather is usually dirty and an effective leather cleaner is required. and maybe even a brush f to get into cracks and folds. The dirt penetrates the pores of the leather and clogs them and prevents the leather dye from adhering. If there is dirt left, the dye adheres to this and not directly to the leather. This means that when you clean it in the future, not only will the dirt disappear, but also the dye that is on top of it. So, Proper cleaning is essential for successful dyeing of hides and leather . We have several effective leather cleaners, such as Leather Expert Leather Cleaner and Ultra Clean from Furniture Clinic, which are very effective.
If the leather is top-dyed and has an old surface finish, it may be a good idea to remove this before applying new paint. This will result in a softer and more pleasant surface, and it is common for cracks and crazing to be present in the old finish; if it is removed, most of these will often disappear. Leather Prep is used to remove old surface finish from leather. NOTE : DO NOT use leather prep on aniline and other absorbent leathers that do not have a top-dyed finish.
You should finish the cleaning by wiping the leather with a cleaning agent that contains alcohol, Alcohol Cleaner. It has a degreasing ability and this removes old grease, wax, balm, conditioner, silicone, paint residue, etc. These substances can otherwise prevent the leather paint from adhering properly, which can eventually cause it to come off/flake off.
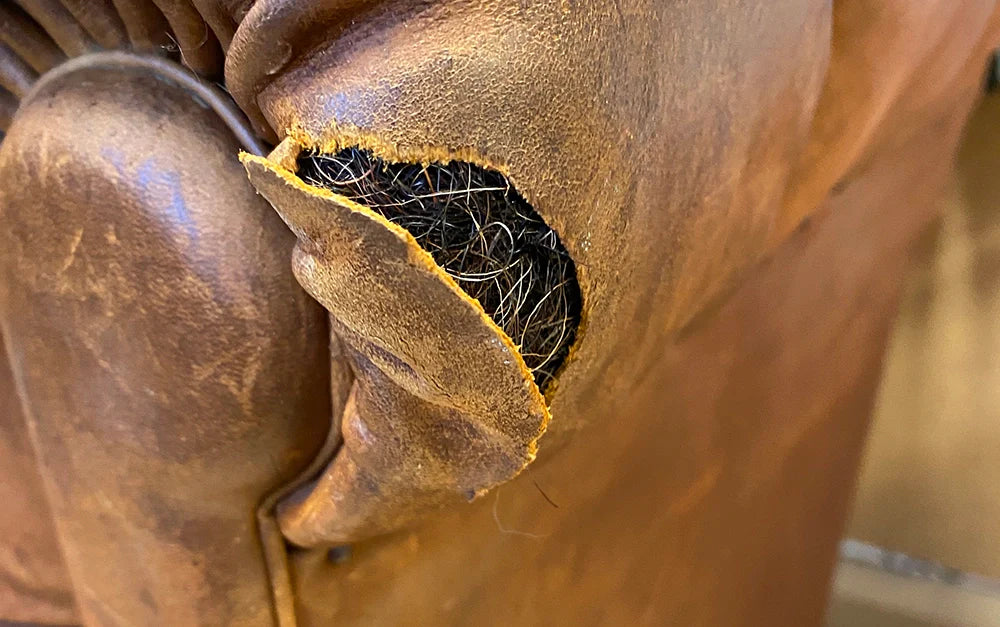
Step 2 – Repair any damage to the leather:
If the leather is so worn that cracks have formed, this can also be fixed. There is a filler for leather that is soft and flexible and that you fill in the cracks with before dyeing the leather. The leather filler Heavy Filler is perfect for filling shallower scratches, cracks and cracks. If the leather is only worn, you can reinforce the worn surface with a binder, Leather Binder, which pulls the leather fibers together and makes it more durable. Leather Binder can also be used to create a new wear surface on worn leather, as well as to fill minor scratches and cracks in the leather. For more detailed instructions on how to repair leather, you can take a look at one of our guides, including "guide for repairing holes in leather"
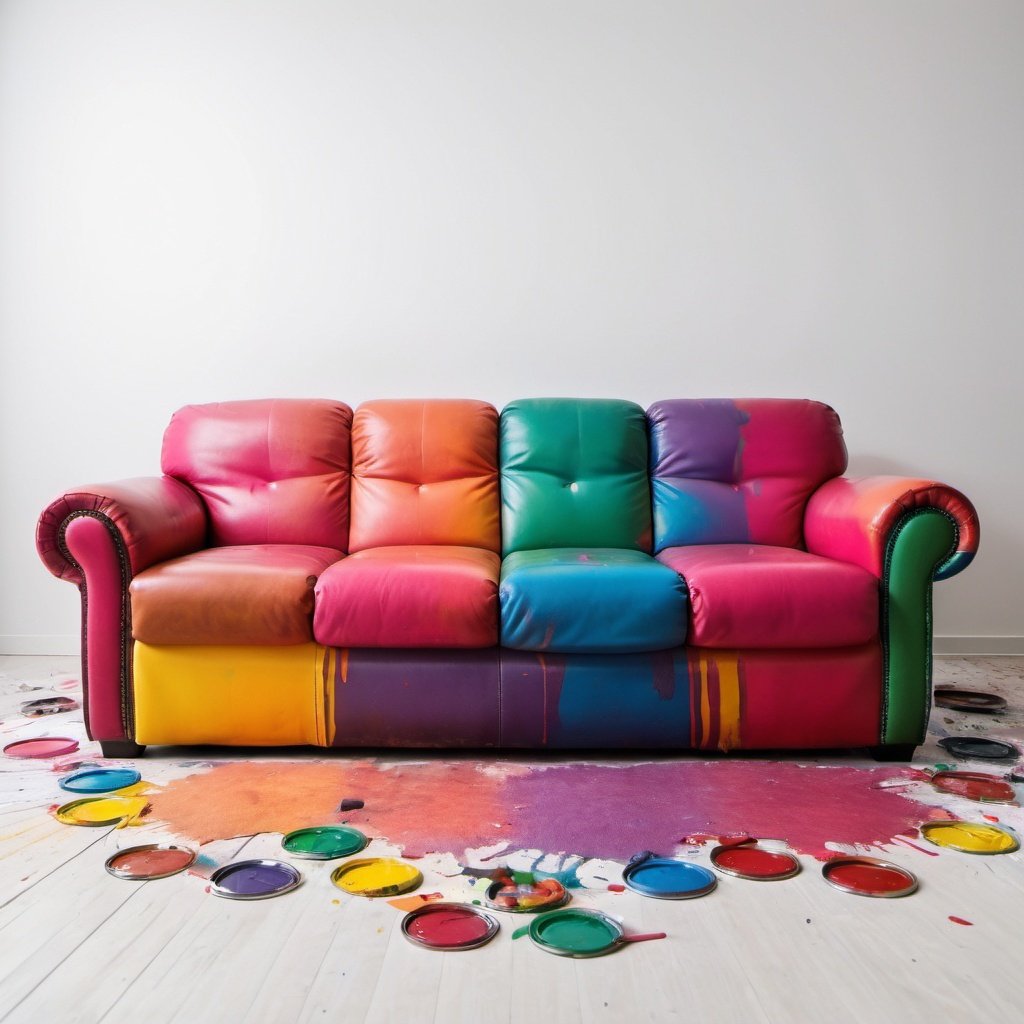
Step 3 – Dyeing the leather:
We have several different types of leather paint for top-dyed leather from different brands in our range; Polycryl from Viper, Repair Paint from Furniture Clinic and Leather Colourant from Leather Expert. These are opaque, durable and flexible. They can all be applied with a sponge or with an airbrush, or a combination of these. If you spray the paint on with an airbrush, the result will usually be more even, but if you are just careful and follow the instructions, sponging the leather paint works great. If the paint does not cover after the first round, just add additional layers of paint, until it covers to your satisfaction. Just make sure the paint dries thoroughly between each layer.
Step 4: Sealing the leather color with finish
When you are satisfied with the appearance of the leather color, it is sealed with a Leather Finish/Top Coat. They work like the clear coat on a car; they protect the color and give the surface a shine according to your wishes; glossy, satin or matte . Satin is neutral, halfway between matte and glossy and gives a nice “leather feel”. Apply the finish in at least three coats. Be sure to let it dry between each coat. If you want extra durability, for example in particularly exposed areas, you can add a few drops of a hardener, Safe Link, to the finish.
When everything is ready and you have allowed the paint and finish to dry thoroughly, you can apply a protective cream for leather. protects the leather surface against friction wear, stains and future soiling from clothing and skin. The barrier cream also has a UV filter that prevents sun fading and a fresh scent of new leather.