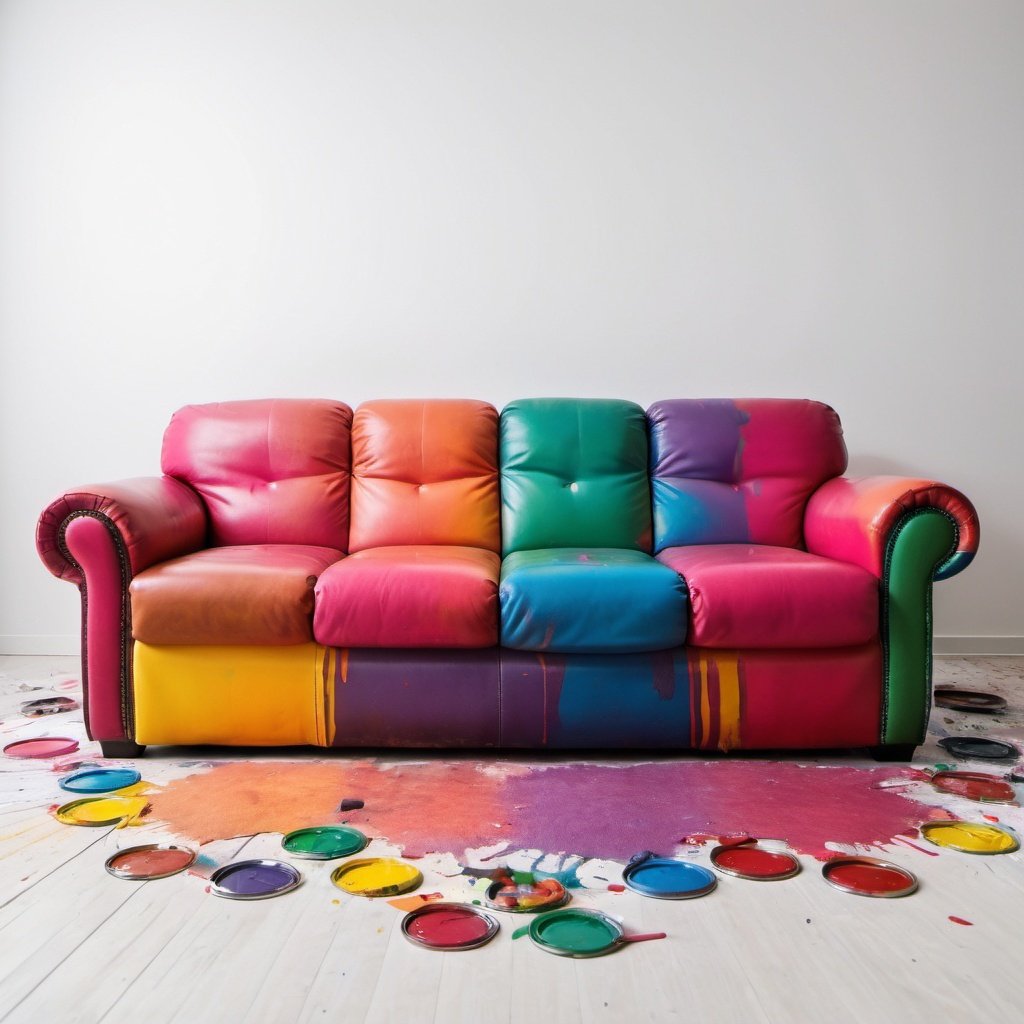
Here we will show you how to go about re-dyeing leather upholstery in a car. All the products used can be found in our webshop. It is of course possible to re-dye other leather products in a similar way, for example a sofa.
Changing the color of a car interior can be done from any color, to any color, for example from black to light beige, or from light beige to black, with the same great results. So it doesn't matter if the car upholstery was previously dark and you want to recolor it to light, the color is completely opaque and the old color will not show through.
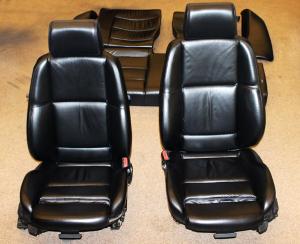
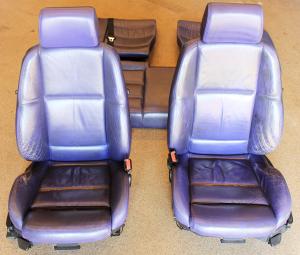
Below we will recolor a leather interior from a BMW from purple to black to show how the process works.
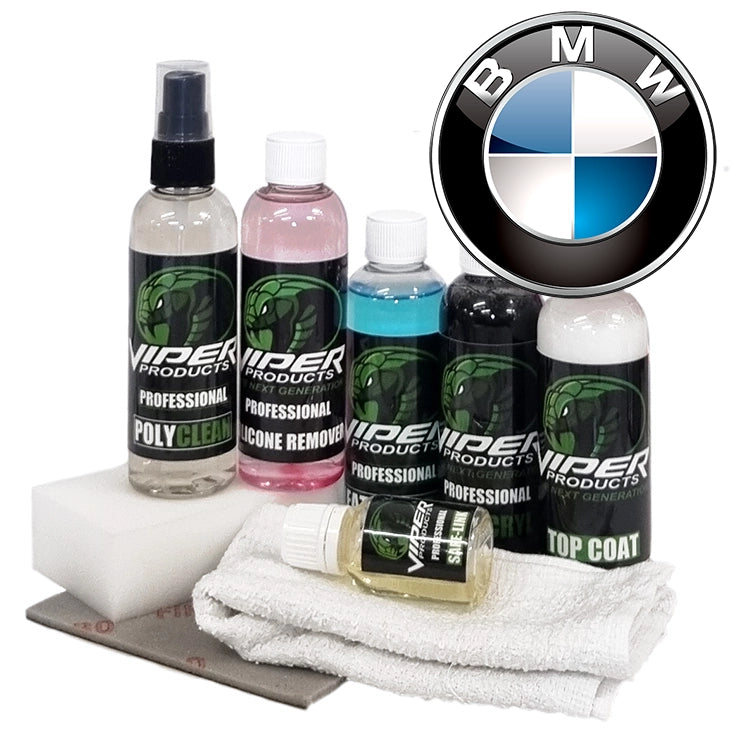
This is what you need to repaint a car interior:
- Ultra Clean (optional, cleaner containing ammonia, used on heavily soiled surfaces)
- Leather Prep
- Alcohol Cleaner
- Leather Binder (optional, used to strengthen the leather if it is very worn)
- Heavy Filler (optional, a putty used to fill cracks)
- Adhesion Promoter primer (optional, used to make the paint adhere to artificial leather/vinyl, e.g. on the back and/or sides of car seats, door panels, etc.)
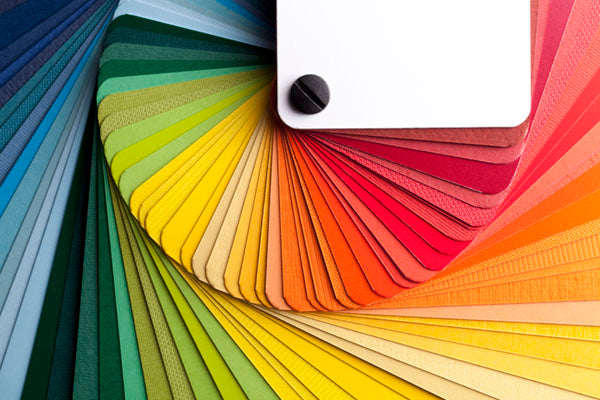
- Leather Colourant (in any colour, can be mixed to your own shade)
- Leather Finish (seals the paint and gives a glossy or matte surface)
- Hardener Cross Linker X (optional, mixed into primer and finish to give the paint even better durability)
- Sponge, Scotchbrite, cloth
- Airbrush + airbrush propellant (optional, but gives better end results)
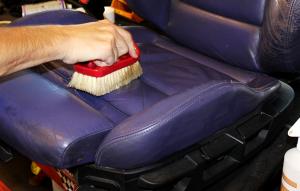
Step 1: The first thing you need to do is clean the upholstery properly. We start with Ultra Clean leather cleaner Ultra Clean leather cleaner , if the upholstery is really dirty, a brush is also recommended, to get into the folds and cracks properly. Wipe with a dry cloth.
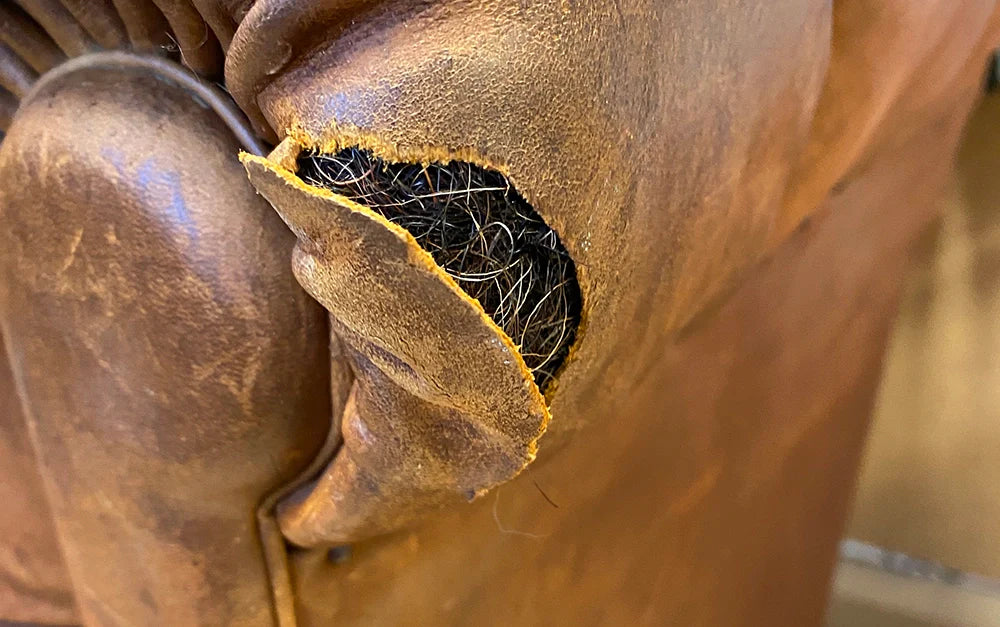
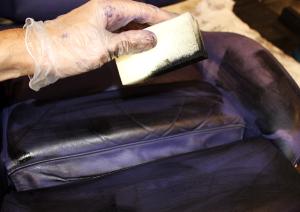
Step 2: After the “rough cleaning”, it is time to prepare the leather for dyeing. Leather Prep removes the old surface layer of the leather and opens up the pores for the new color. We use a Scotch-brite sanding cloth that we have added cotton to effectively remove the old surface layer. Wipe with a dry cloth. When there starts to be a lot of color on the sanding cloth, the old surface layer is gone. NOTE, it is not intended that all the color should be removed, only the surface layer. When it dries, the surface will look matte and a little flamboyant.
Step 3: Final cleaning with Alcohol Cleaner . This cleaner removes old paint residue, old wax and last but not least all traces of silicone. The latter is usually found in products used to give shine to vinyl and is a disaster when painting, as the paint does not adhere to silicone.
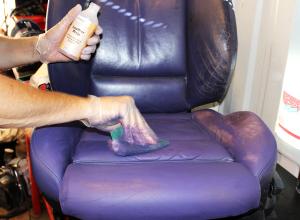
Step 4: The staining process begins by sponging on the first layer of Colourant leather dye . This is to get into cracks, folds and other hidden areas. The dye will not cover well, but that is not so important at this stage, but make sure that you get into places that may be difficult to reach with a sprayer. When staining the places where leather lies against leather (for example between the seat and backrest), make sure that the surfaces do not lie against each other when the dye dries, as there is a risk that they will stick together. Keep the surfaces apart and speed up the drying time in these areas with a hairdryer. Make sure that the dye is completely dry before applying the next layer of dye.
If you are only going to use a sponge, simply repeat step 1 above until the paint is completely covered and you are satisfied. If foaming occurs from the sponge, make sure to carefully wipe this off before the paint dries, otherwise small craters may appear in the paint from the bubbles when it dries, which can be difficult to remove.
Make sure the paint dries between each layer of paint applied. There is no rule for how many layers you can apply, but do not apply more layers than necessary, when the paint covers everything properly, no more paint is needed.
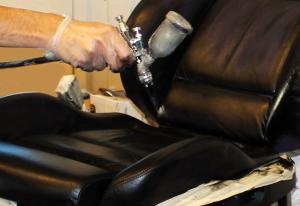
If you are using a sprayer, spray in even, thin layers and let the paint dry in between. There may be small clumps of paint in the leather paint, so make sure to strain it with a paint strainer before pouring it into the sprayer, otherwise the sprayer may "spit" these out onto the surface, which means unnecessary extra work.
Step 5: After the paint has been applied and dried, it is time to seal with a Leather Finish . This works like the clear coat on a car paint, sealing the paint, making the surface durable and giving it the right texture (gloss, satin or matte). The finish is quite thin, so be careful not to run. Apply one coat, let dry. Then apply another coat (or two) to increase the durability even further. If you want a really durable surface, you can also add a little hardener ( Cross Linker X ) to the finish.
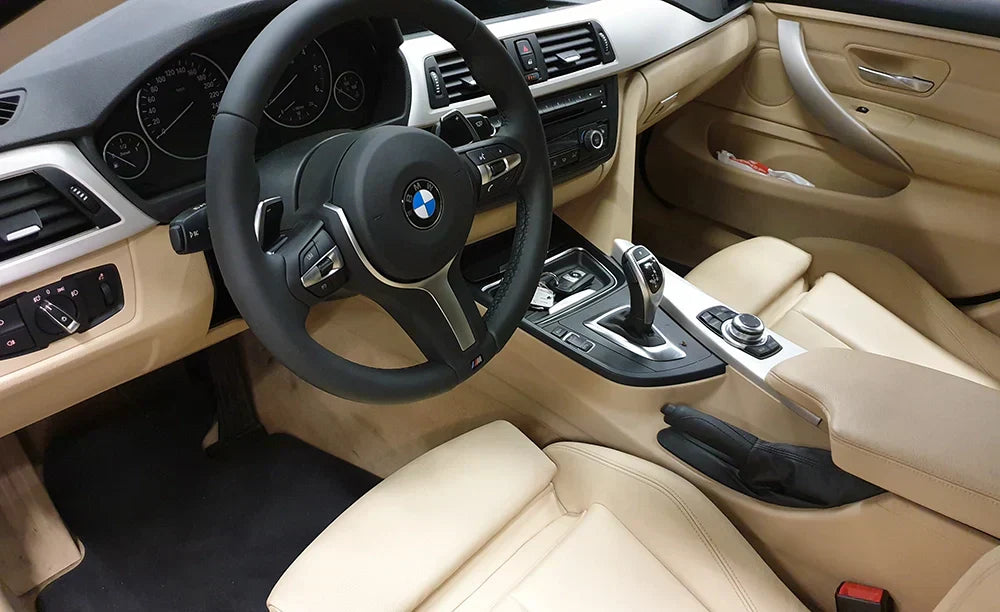
Finished result.