This is a common injury that most cat owners are familiar with. For those who have leather furniture, it is difficult to avoid the cat sooner or later getting its claws into it. The injuries that occur are usually one of three types; 1) deeper tears on the side of the sofa, where the cat scratched with its claws much like it does on a tree, so that the leather fibers came out; 2) longer, shallower tears on top of cushions, arms and backrests that occur when the cat plays or walks around with its claws outstretched; and 3) small holes where the cat has "only" pushed its sharp claws in without scratching.
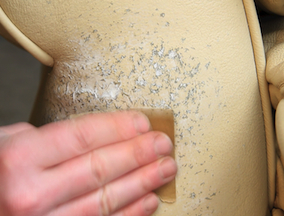
Deeper Tears

We use the following products to repair according to the guide:
– Leather repair kit
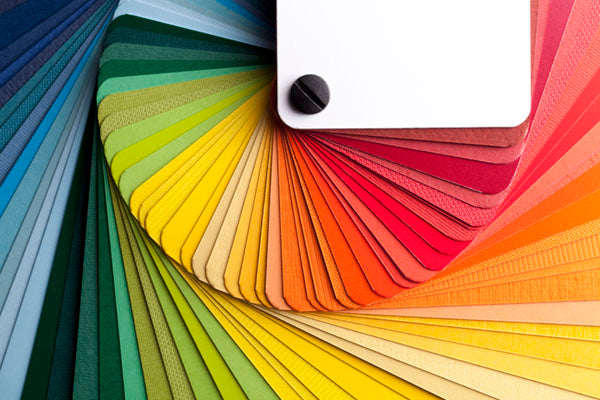
- Leather dye (e.g. small kit for dyeing leather )
– Surface finish (Gloss, Satin, Semi-matte or Matte, included in Small Leather Dyeing Kit)
– Mushroom
You will find these products at the bottom of the page.
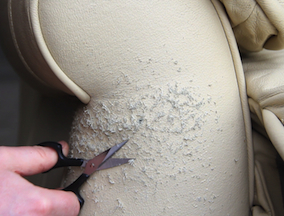
Step 1
First clean the leather thoroughly. Then cut away and sand down as much of the “fuzz” on the leather as possible, being careful not to further damage the leather.
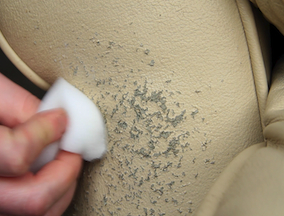
Step 2
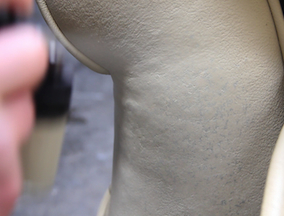
Then apply Leather Binder leather reinforcement to the damaged area with a sponge. Let dry (use a hairdryer to speed up the drying process). To get a strong and durable surface, apply 8-10 coats of Binder, letting dry between each coat.
Step 3
Take a fine sandpaper (1200 works well) and carefully sand the area where you applied Binder.
Step 4
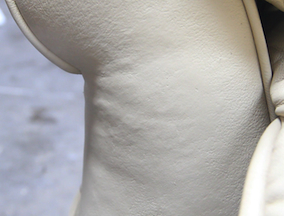
First, make sure there is no sanding residue left from the previous step. Apply a thin, even layer of Heavy Filler leather filler over the entire surface with a putty knife. Let dry for 20 minutes. Apply additional layers if necessary. The idea is to fill all holes and cracks so that the surface is even.
Step 5
Sand the surface with 1200 grit sandpaper until smooth. Wipe with Alcohol Cleaner to ensure there is no sanding residue left.
Step 6
Now it's time to apply Leather Colourant . Always apply the first coat with a sponge. Let dry (you can speed up the drying process with a hairdryer). If you have a paint sprayer , apply additional coats with it. If you have a sponge, dab on additional coats until you are satisfied. Let dry between each coat.
Step 7
Surface finish, Leather Finish , seals the color and gives the leather a soft and durable surface in the texture you want (gloss, satin, semi-matt or matte). Apply 4-5 layers, either with a sponge or with a sprayer, making sure it dries between each layer.
Done!
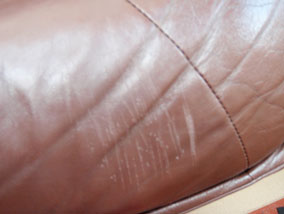
Minor Tears
For shallower scratches, use Leather Re-colouring Balm , a pigmented leather balm. When the scratches are shallow, dyeing them in is usually enough to hide the scratches and make the sofa look nice again.
Holes from cat claws, small “pin pricks”
These holes can be filled with a leather filler, Heavy Filler or Flexifil . You can add a drop of leather dye of the right shade to the filler, and it will be almost invisible. When the leather filler has dried, it may have sunk in a little, then fill with more leather filler, repeat the procedure until the holes are completely filled. When the filler is dry, you can sand it with a fine sandpaper, e.g. 1200, to get a completely smooth surface. Color it afterwards with Leather Colourant leather dye . NOTE, Leather Re-Colouring Balm , the pigmented balm, cannot be used to color leather filler, as it cannot penetrate it.