Guide to repairing cuts in leather
Here we show you how to easily repair a cut in leather caused by a knife or other sharp object. Please note that this only applies to cuts on the surface of the leather, if a hole has been cut all the way through the leather, please read "Guide to repairing holes and tears in leather".
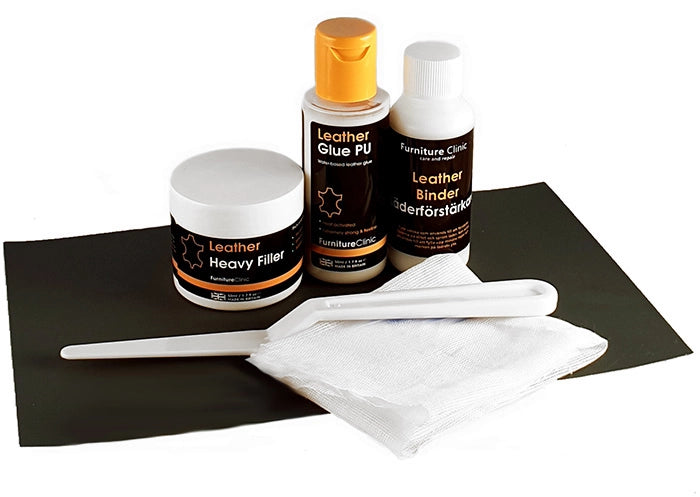
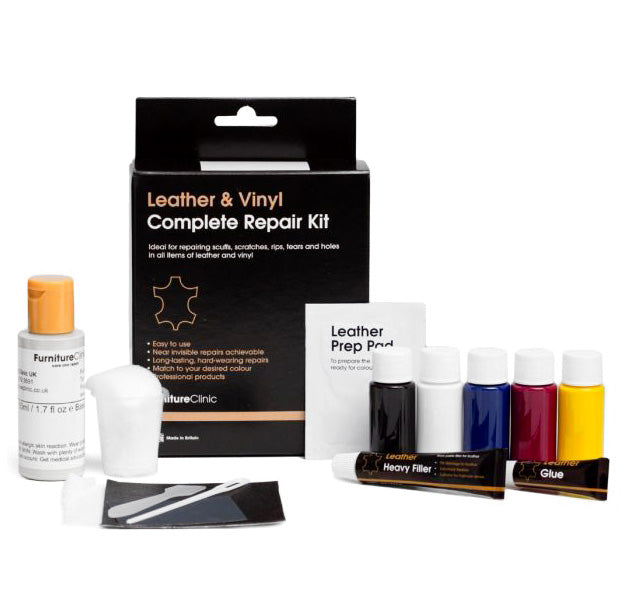
What is needed: - Leather glue, preferably SB (Solvent Based) which is very effective for gluing leather to leather. - Leather putty may be needed if the joints of the cut cannot be glued neatly. - Leather dye to possibly color the repaired area.
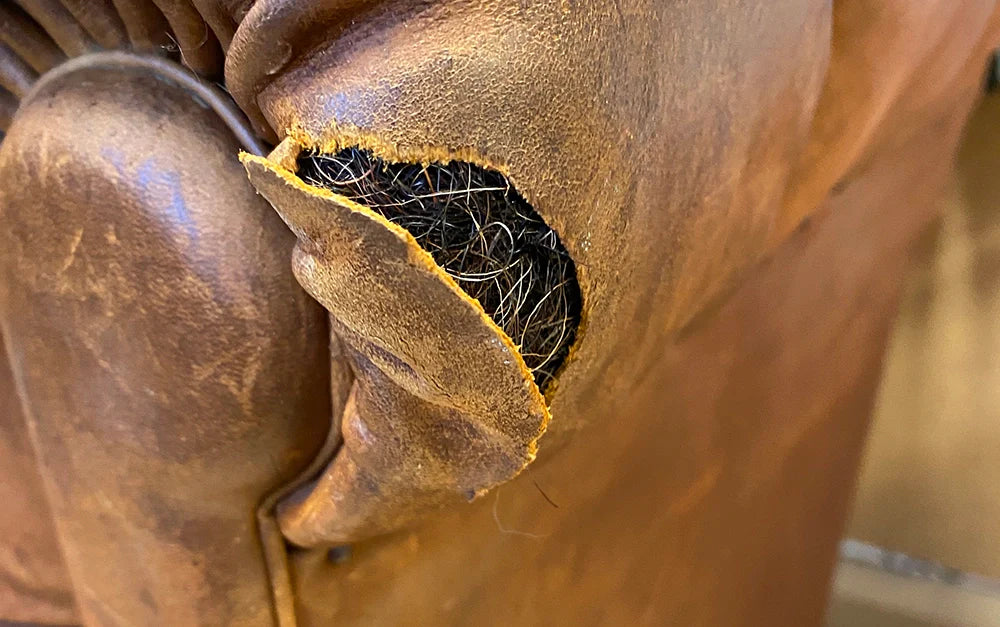
Step 1 - Open the cut to expose the fibers:
To repair a cut, open it by pinching both sides of the cut with your fingers. This exposes the leather fibers and will strengthen the repair once the glue is applied.
Step 2 - Apply leather glue:
Dip a scalpel or sharp knife in the leather glue so that you have a small amount of glue on the tip of the edge. Spread the glue along the cut with the scalpel. Once this is done, release your grip and let the cut go again. With the back of the scalpel, gently press down on both sides so that the cut is sealed evenly. Wipe off any excess glue with your fingers before it dries.
Hopefully, this is all that is needed to achieve a nice-looking repair. Unfortunately, it is not always possible to achieve this result. Sometimes the edges of the damage are simply too damaged to be able to seal completely evenly and invisibly. If this is the case, it is possible to make it look nicer by coloring in the right shade of leather dye.