Step-by-step guide on how to easily spruce up worn leather car upholstery.
This is what the car upholstery looks like before we start. A fairly typical light gray and worn leather upholstery, with worn paint and cracks on the backrest and seat cushion by the step of the driver's seat...

Step 1: Cleaning
Start by cleaning the leather properly. A car seat is almost always dirty, which is especially obvious if it is light. It may not be visible on dark upholstery, but when cleaning it you will notice that the cloth you use to wipe the cleaning agent quickly becomes dirty. A car seat absorbs dirt from clothes, skin and air pollution, but can also contain old grease and wax from various treatments, as well as silicone from all kinds of products used to decorate the instrument and door panels. This must be removed as dirt, grease and silicone mean that the products we will use do not stick to the car's leather upholstery.

First we do a proper cleaning of the leather with Ultra Clean leather cleaner . Spray Ultra Clean liberally on the entire chair, and then let the cleaner work for a few minutes so that it can dissolve the dirt. Then use a Cleaning Brush to gently scrub the surface. The brush gets into the leather's grains and folds and removes the dirt from there as well. Wipe with a dry, clean cloth. Repeat if necessary until the upholstery is clean.
Step 2: Preparation
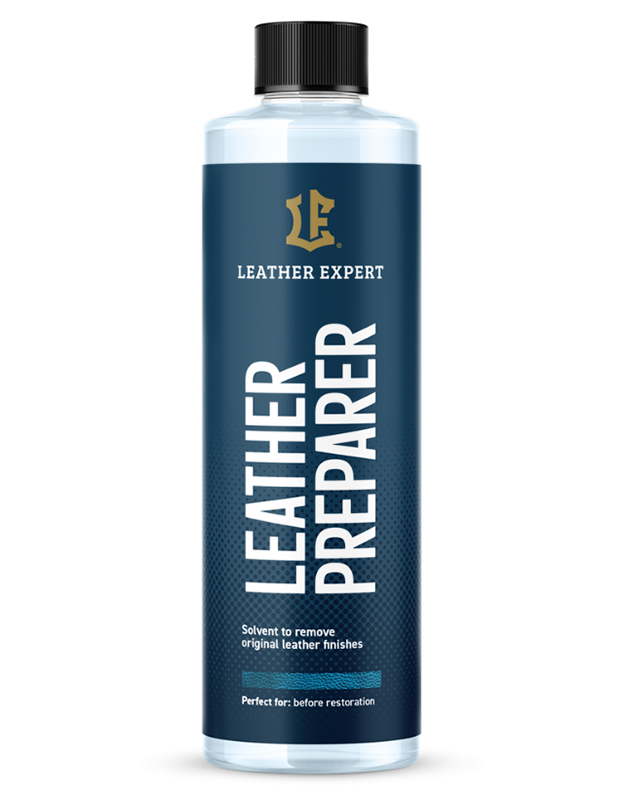
Car upholstery is usually made of top-dyed/pigmented leather. This means that the paint is applied to the surface of the leather, and the paint is sealed with a finish that makes the surface durable. In this step, the old finish of the upholstery is removed with Leather Prep . It is possible to dye the leather without removing it, but doing so will give you a softer and more beautiful surface. If you have cracks in the leather, it is usually the surface finish that has cracked, and by removing it, the cracks will also disappear, resulting in a smooth and nice surface. We will later replace the old finish by applying a new surface finish on top of the new color.

Take a Scotchbrite sanding cloth and wrap some cotton around it, pour Leather Prep into the cotton. Gently press the sanding cloth so that there is just the right amount of prep to moisten the leather. Sand gently in circular motions, wipe with a cloth. Be extra careful in folds and where there are cracks. Deeper cracks in the leather, however, will not go away with Prep, we fill these with leather putty (see below). When you start to get color on the Scotchbrite, then you have come through the finish, finish at that place and move on and do the same on the entire surface that is to be stained.
After using Leather Prep, the leather will become dull and flaky, this is completely normal and nothing to worry about. When you have removed the finish from the entire surface, wipe with Alcohol Cleaner . It removes paint residue that comes off with Prep, as well as oil, grease, wax and silicone that are not dissolved when cleaning with Ultra Clean. In other words, Alcohol Cleaner is very important for the end result, without cleaning with alcohol there is a great risk that the paint will come off, as it does not adhere well to oil, grease and silicone.
Step 3: Wiping
Wipe with Alcohol Cleaner. Alcohol Cleaner removes paint residue from the preparation above, as well as old grease, wax, silicone, etc. that is on the leather from skin, clothing and previous treatments. This is an important step, as leather filler, binder and leather dye will not adhere to this. Take Alcohol Cleaner on a dry cloth and wipe all surfaces that are to be dyed.

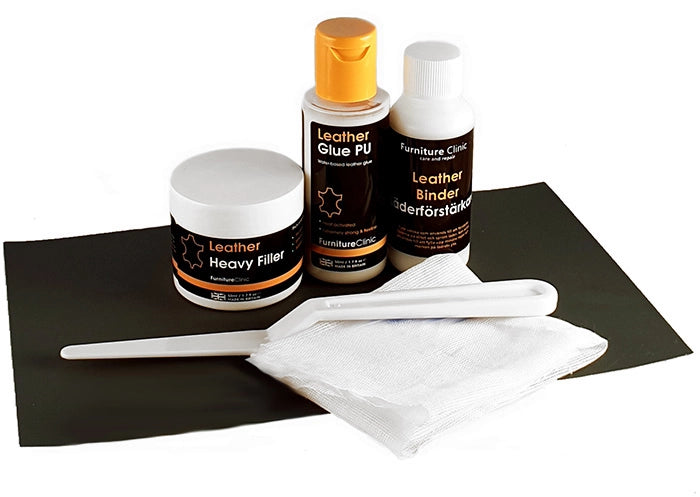
Step 4: Fix damage
Fill scratches and cracks with leather filler. Once you have removed the cracks with Prep above and there are still cracks and tears that need to be filled, you can do so with a leather filler, Heavy Filler , or Flexifil. Heavy Filler is used if the cracks are not that deep, while Flexifil works better if the scratches are deep, and there may even be small holes that need to be filled.

If the scratches are really small, or the leather is just very worn, you can use Leather Binder leather strengthener . It pulls the leather fibers together and strengthens old dry and porous leather, and lays down as a surface on top of the leather. If you apply many layers, smaller scratches will be filled again. You can sand carefully with fine sandpaper on both the leather filler and the Binder. The leather fillers are water-based, which means that they sink together when they dry. Once they have dried, apply additional layers until the crack is filled. Let dry thoroughly between each layer. You can speed up the drying process with a hairdryer.

You can also use a combination of leather putty and Binder. Start by applying a few layers of Binder with a sponge. Let dry between each layer. Then fill in the cracks with leather putty. Finish by applying a couple more layers of Binder on top of the places you applied leather putty. This will give you an even and smooth surface.
Step 5: Coloring
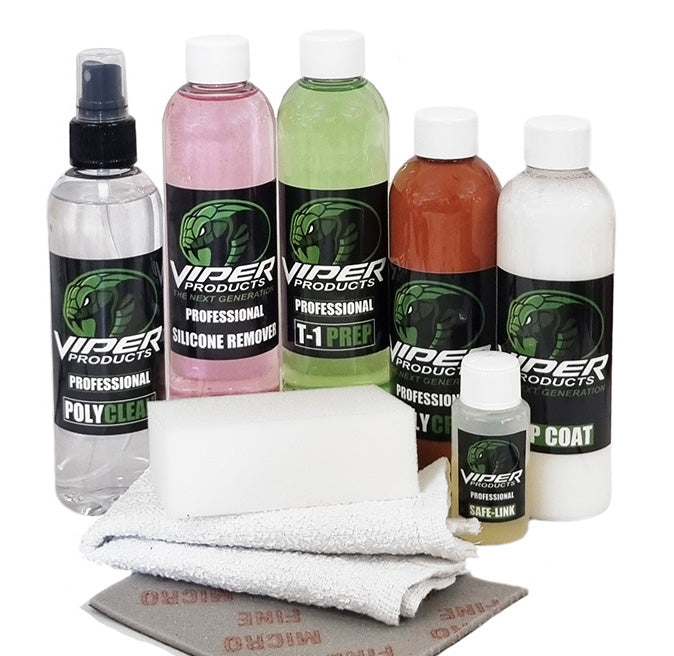
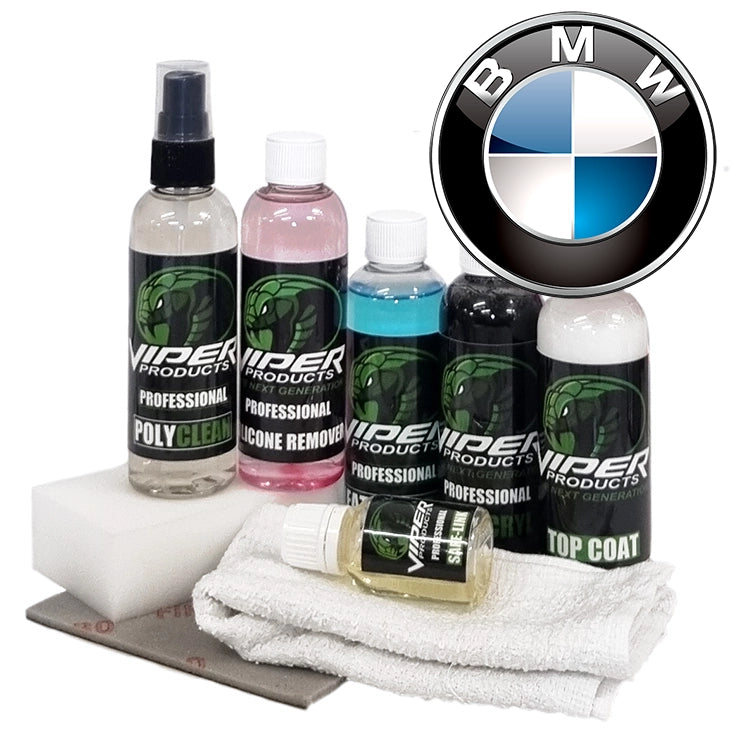
Dye the car upholstery with leather dye, Leather Colourant, alternatively Viper Polycryl. To get the right shade, you can either mix it yourself, choose one of the ready-made shades available, or send us a color sample, a small strip of the upholstery that we can use to match the right shade. Before you apply paint, remember to mask and cover all around so that you don't get paint in places other than where you want it. Extra important if you use a sprayer/airbrush. Gloves are also a good idea to wear, leather paint is sticky and designed to penetrate pores, if you get paint on your hands, wash it off before it dries.
The paint can be applied with a sponge, a sprayer, or a combination of both. If you are only going to use a sponge, apply as many layers as necessary to cover the damage properly and to make it look even and nice. Keep in mind that the leather paint must dry thoroughly between each layer, otherwise there is a risk that it will come off the leather or the underlying layer when you apply the next layer. If you have applied many layers of paint and it does not seem to cover, this is usually what has happened.
There is no rule for how many layers you have to apply, if you are satisfied after one layer it is enough, but sometimes you may have to apply three layers for it to cover properly. The leather paint is elastic and does not crack, no matter how many layers you apply. The only thing that happens if you apply many layers is that the pattern depth in the upholstery decreases (if you apply really many layers you end up with a smooth surface).

If you have access to a paint sprayer or airbrush , you should still apply the first layer of leather paint with a sponge , this to get into patterns, folds and other places where it is easy to miss with a sprayer. Then spray one or two layers of paint, let dry between each layer. If you use an airbrush, keep in mind that leather paint is quite thick and you need an airbrush with a nozzle that can handle thick paint. First spray from one side to the other, then up/down, and finish by spraying diagonally, this way you get an even layer of leather paint on the car upholstery.

Step 6: Sealing
Seal the leather color by applying leather finish , or Top Coat (if you used Viper Polycryl) on top of the paint. The leather finish protects the paint, makes the surface durable, and determines what shine you want on the surface; matte, semi-matte, satin or glossy. The finish is applied in the same way as the leather paint, with a sponge or spray/airbrush. The finish is quite thin, so be careful not to run.

If you want extra durability in the finish, you can add a few drops hardener Safe Link in the finish. This is especially recommended if you have a convertible, as the upholstery is also exposed to the elements, but also in particularly exposed areas, such as the driver's seat step as shown in this example. With hardener in the finish, you get a surface that is incredibly durable and long-lasting.
When you have applied the finish to your satisfaction, 2-3 coats is usually good, the car seat is finished. Let it dry for a few hours before you sit in it. This is especially important if you have used a hardener in the surface finish, as this will extend the drying time. It will not be fully cured until after three days.

This is the result after painting the driver's seat. The car, a Volvo C70 Cabriolet, got a facelift, the owner was very satisfied.