This guide will go over how to easily repair a burn hole in leather. All products used in the guide are available for purchase in our webshop.
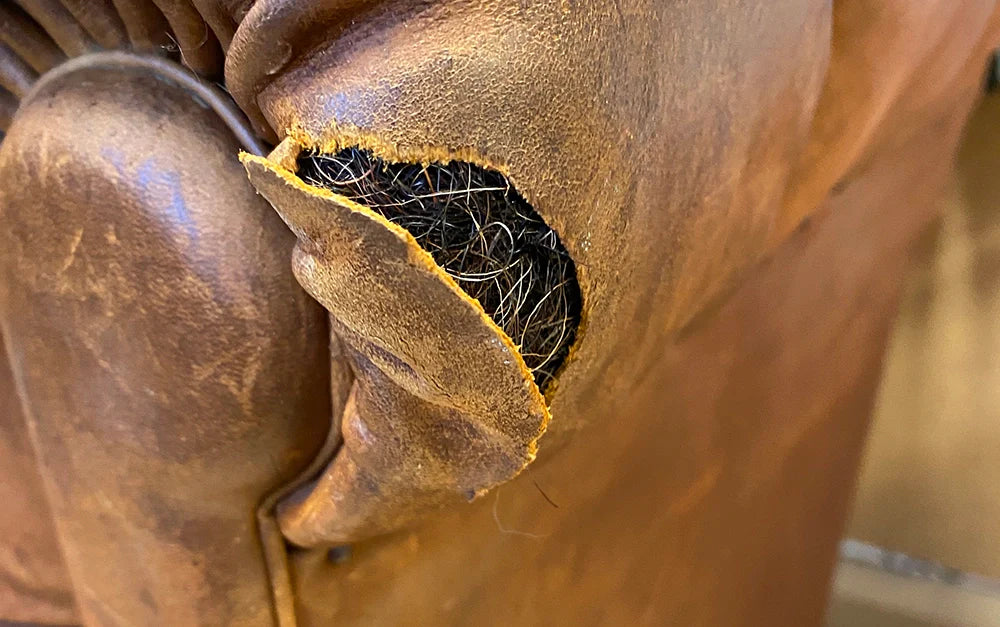
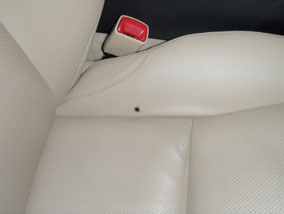
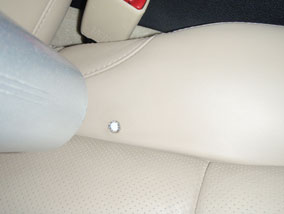
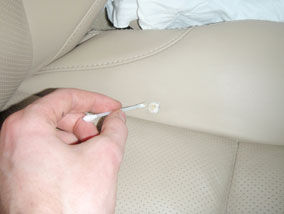
The most common burn marks on leather are those caused by cigarette burns. They are severe burns that pull the leather together, sometimes even burning holes right through the leather. The photo below shows a burn mark from a cigarette burn on a car seat, which is common. To repair it, you need a leather repair kit .
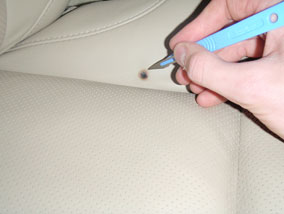
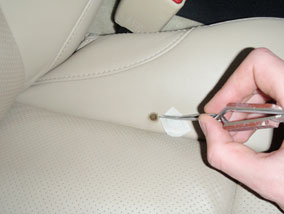
Step 1 – Cut away the burnt leather: The heat from the cigarette embers causes the leather to contract and also makes the leather hard. The first thing to do is to cut away as much of the burn as possible using the sharp scalpel. Start by making a cross in the burn mark, being careful not to cut through the leather, try to cut to a maximum of half the thickness of the leather. If the burn hole has not burned completely through the leather, you can go directly to step 4.
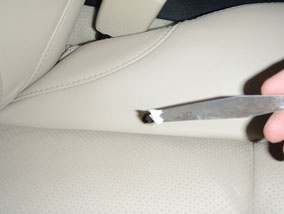
If the burn hole has caused a burn hole that has completely penetrated the leather, cut away all the burned area so that the hole is completely free of burn damage.
Step 2 – Insert reinforcement fabric under the hole:
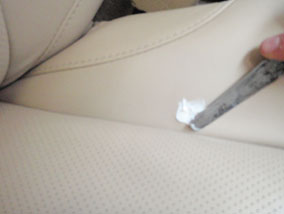
To make the repair last, first glue a reinforcement cloth made of strong and thin canvas under the hole. Cut out a piece of the reinforcement cloth that is large enough to cover at least one cm around the hole. Insert the reinforcement cloth under the hole using tweezers or another tool. Make sure that it lies completely flat under the leather. A tip is to put a cross with a marker in the middle of the cloth, so that you can easily see when the reinforcement cloth is in the right place.
Step 3 – Glue the reinforcement fabric under the hole: The glue should now be inserted between the reinforcement fabric and the leather. Use a palette knife, scalpel, or other thin tool to do this. Press on one side of the hole so that the other side of the hole rises slightly. Insert the tool with glue and wipe it on the underside of the leather. Repeat around the entire hole, making sure there is enough glue all around, and then press the leather firmly down against the fabric so that it adheres to the glue. Let dry for an hour.
Now you have strong reinforcement and can fill the hole with Heavy Filler leather putty.
Step 4 – Fill the burn hole with Heavy Filler leather putty:
To fill a full hole, approximately 4 thin coats of Heavy Filler Leather Filler are needed. Apply the filler with a palette knife, making sure no excess filler gets next to the hole. Heat/dry each coat with a hair dryer, pressing each coat to prevent the filler from shrinking. If you have a burn hole that has not gone through the leather, 2 coats of filler are enough to fill the hole.
Dry each layer for about three minutes with a hair dryer, then let it cool for another 5 minutes before applying the next layer. Gently press the leather putty down with a finger after each heating, repeating until the putty is just below the surface of the leather. The final layer is then pulled over the hole so that the surface of the putty is just level with the leather. Make sure that no excess putty gets on the leather.
Please note , do not use too much heat, you should be able to hold your hand under the heat beam without burning yourself. Too much heat can damage both the leather filler and the leather. Do not use a heat gun.
Step 5 – Dye the repair with leather dye: You can use one of our ready-made colors, either from our basic range , or one of the pre-mixed colors we have for a large number of car brands . It is also possible to send in a color sample for color matching, or produce an NCS color code (NCS color chart is available in most paint stores), which you email to us so that we can mix leather color with the right shade for you.
Once you have the right color, you can use a cotton swab to apply leather dye to the damage. Dry with a hairdryer, repeat until the color is covered. Then apply a couple of coats of leather finish in the right shine.
Done.